
Novel to Comic Workflow: From TXT Manuscript to Illustrated Pages
A user-friendly walkthrough of how a manuscript becomes a page-by-page AI comic project.
Quick answer
A good novel-to-comic workflow is: create one project, choose the visual style, upload or paste your story, split it into scene-sized parts, generate a few test pages, then continue in order.
1. Create one home for the whole story
A comic adaptation has many decisions: title, story description, page shape, image quality, art style, uploaded manuscript, generated pages, and download-ready images. Keeping all of that inside one project makes the work easier to review and continue later.
When you create a project, use a title that helps you recognize the story quickly. Add a short description only if it helps you remember the tone, genre, or goal of the adaptation.
Square
1:1
Good for previews, thumbnails, and social posts.
Wide
16:9
Good for cinematic scenes and presentation slides.
Vertical
9:16
Good for webtoon-like reading and mobile-first sharing.
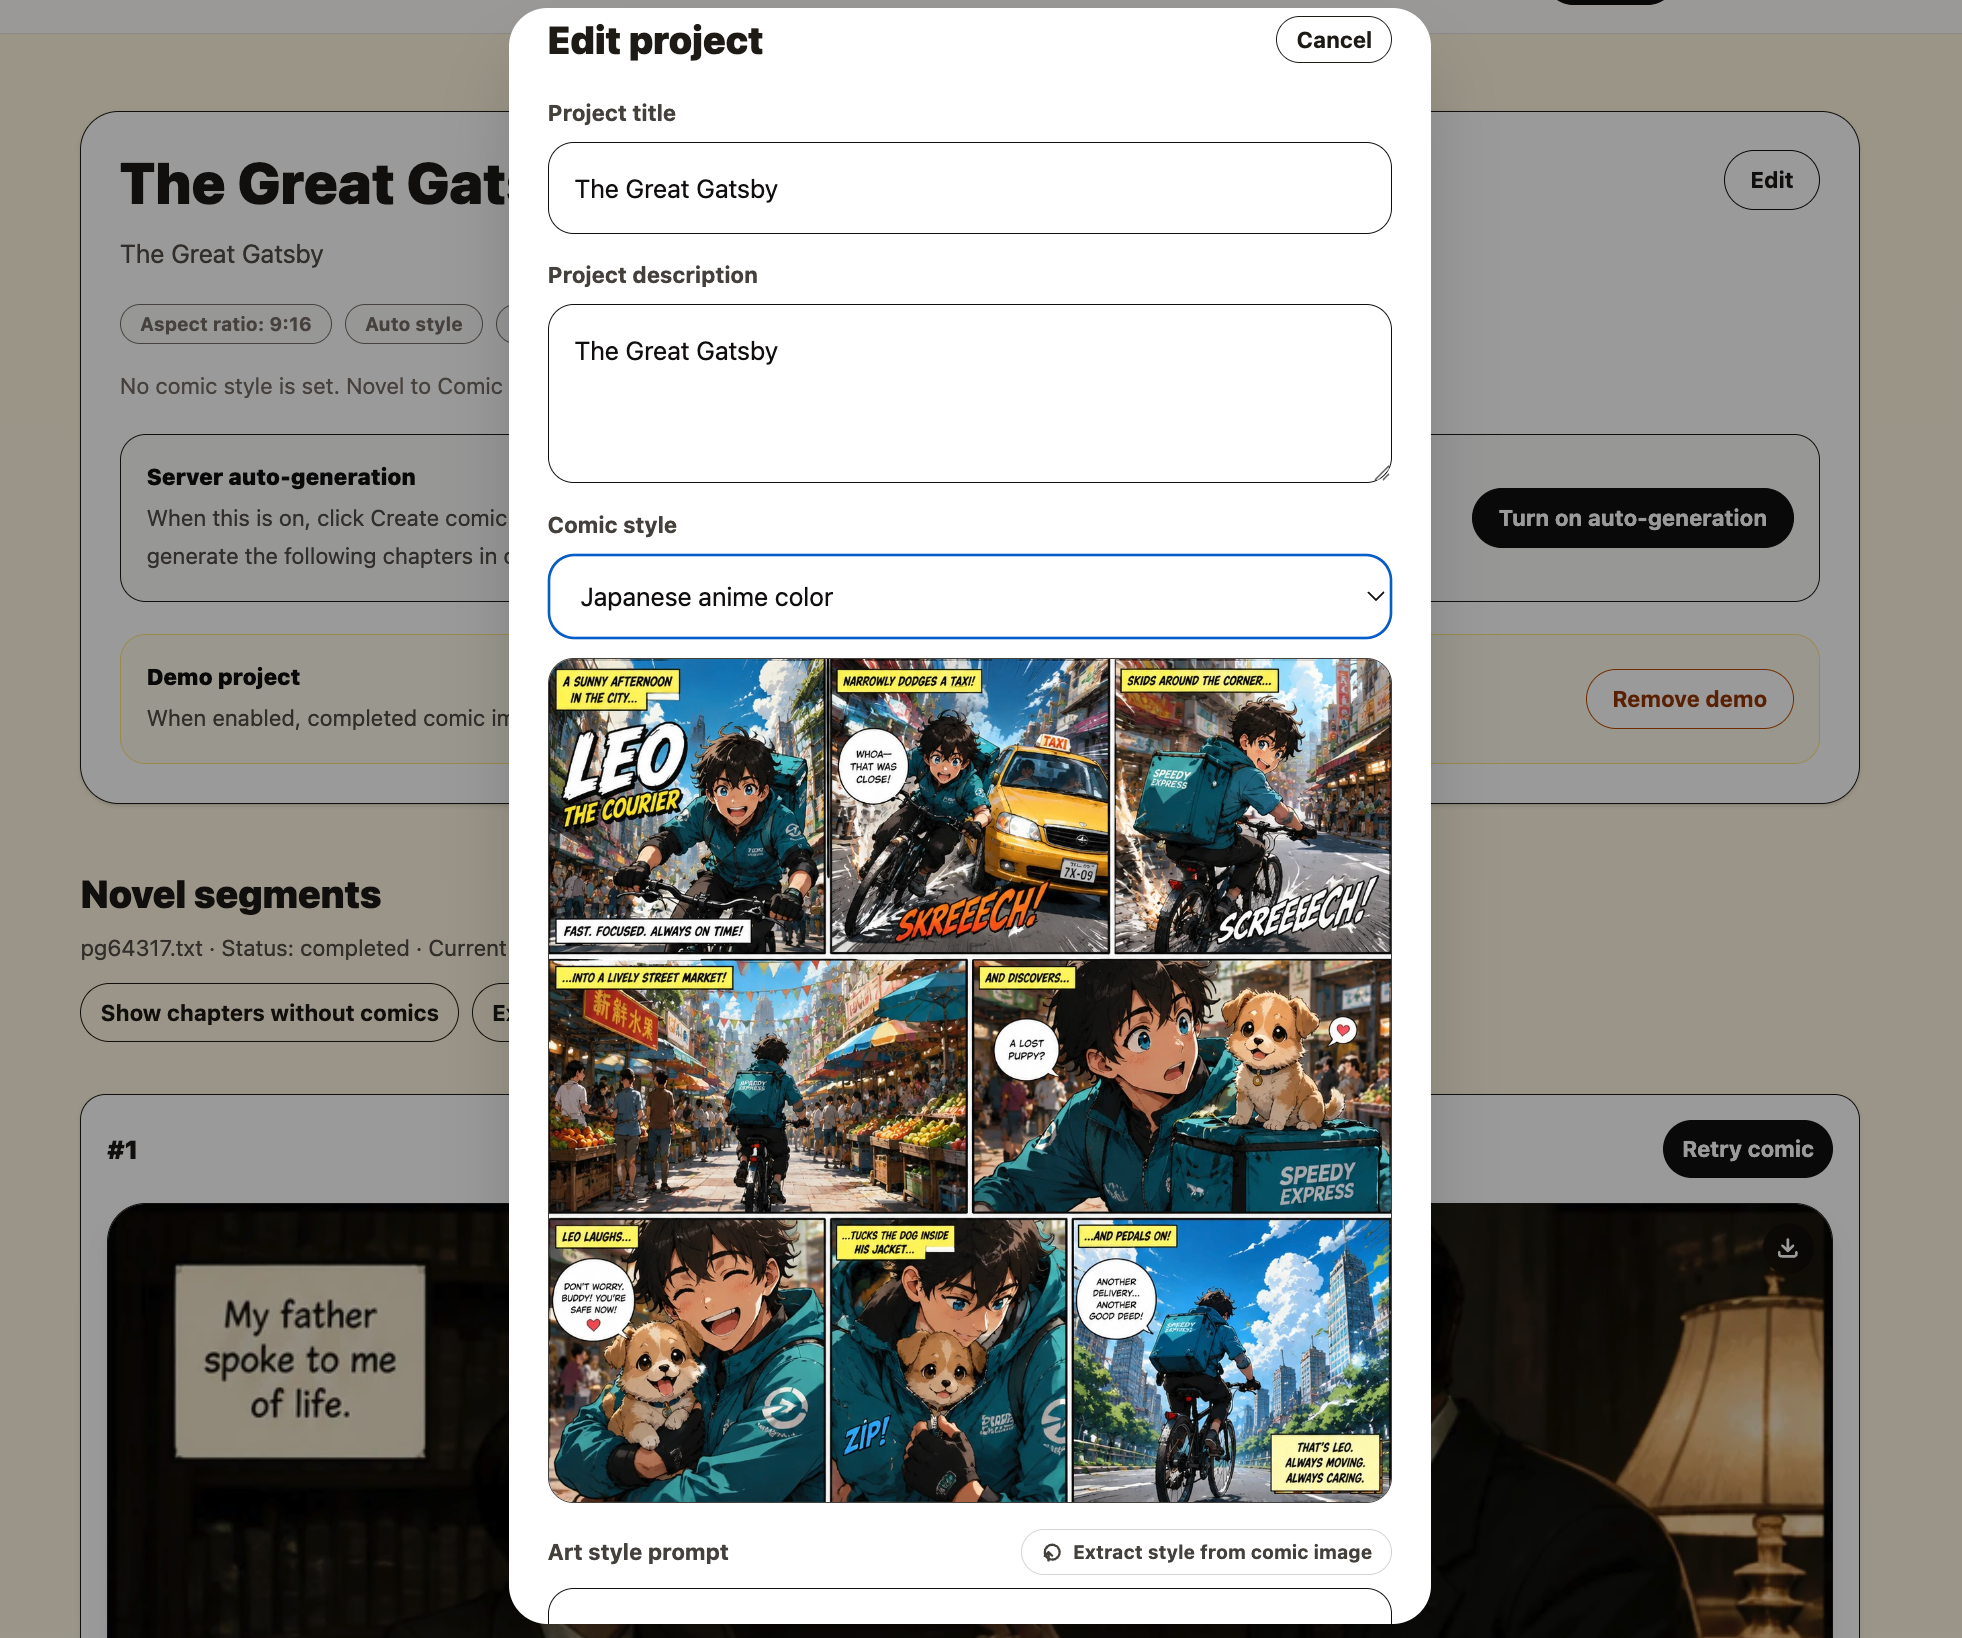
2. Choose the look before uploading too much work
Style is not decoration. It changes how readers understand the story. A sweet romance can feel warmer in webtoon color. A revenge story can feel stronger in dark graphic novel style. A fantasy journey may need watercolor softness or manhua detail.
If you are unsure, pick a style that matches the emotion of the first chapter. You can test a few early pages and adjust before generating the full story.
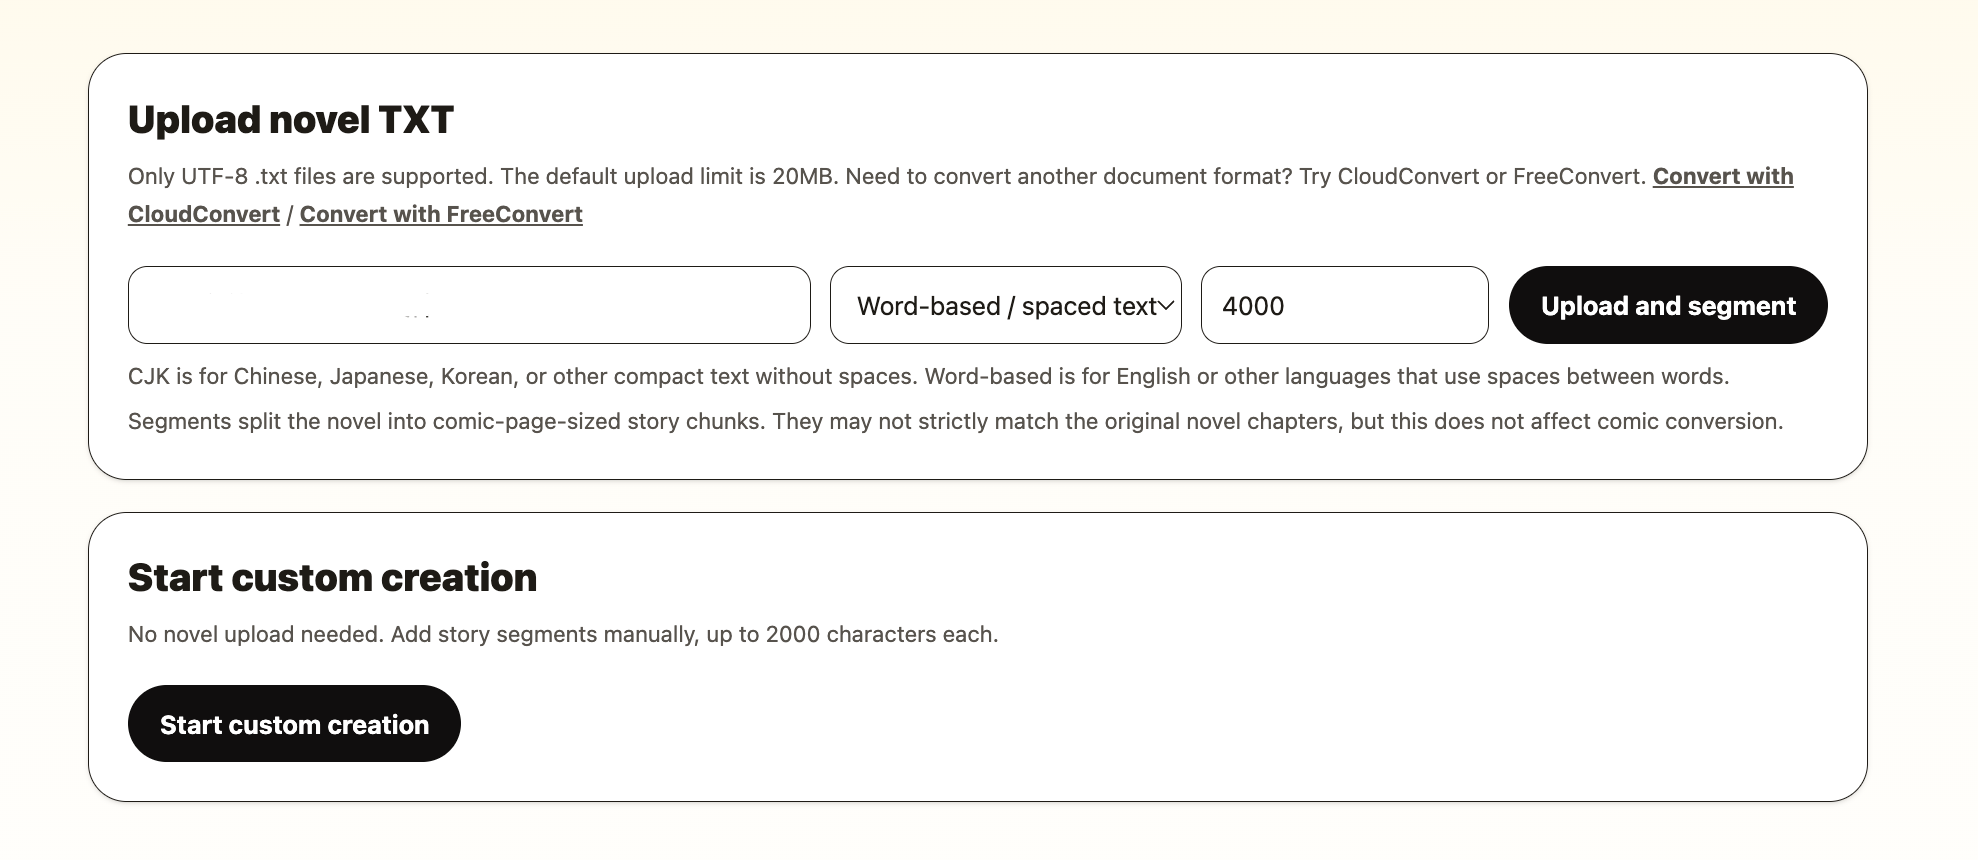
3. Add the manuscript in the simplest form
For a long novel, use a clean TXT file. Plain text avoids extra formatting and lets the app focus on the story itself. If your story is in PDF, DOCX, or another format, convert it to TXT first and remove any unwanted notes or page numbers.
If your project is short, or if you are still writing, start manually instead. Manual mode lets you add one scene at a time, which is useful for short comics, experiments, and serialized drafts.
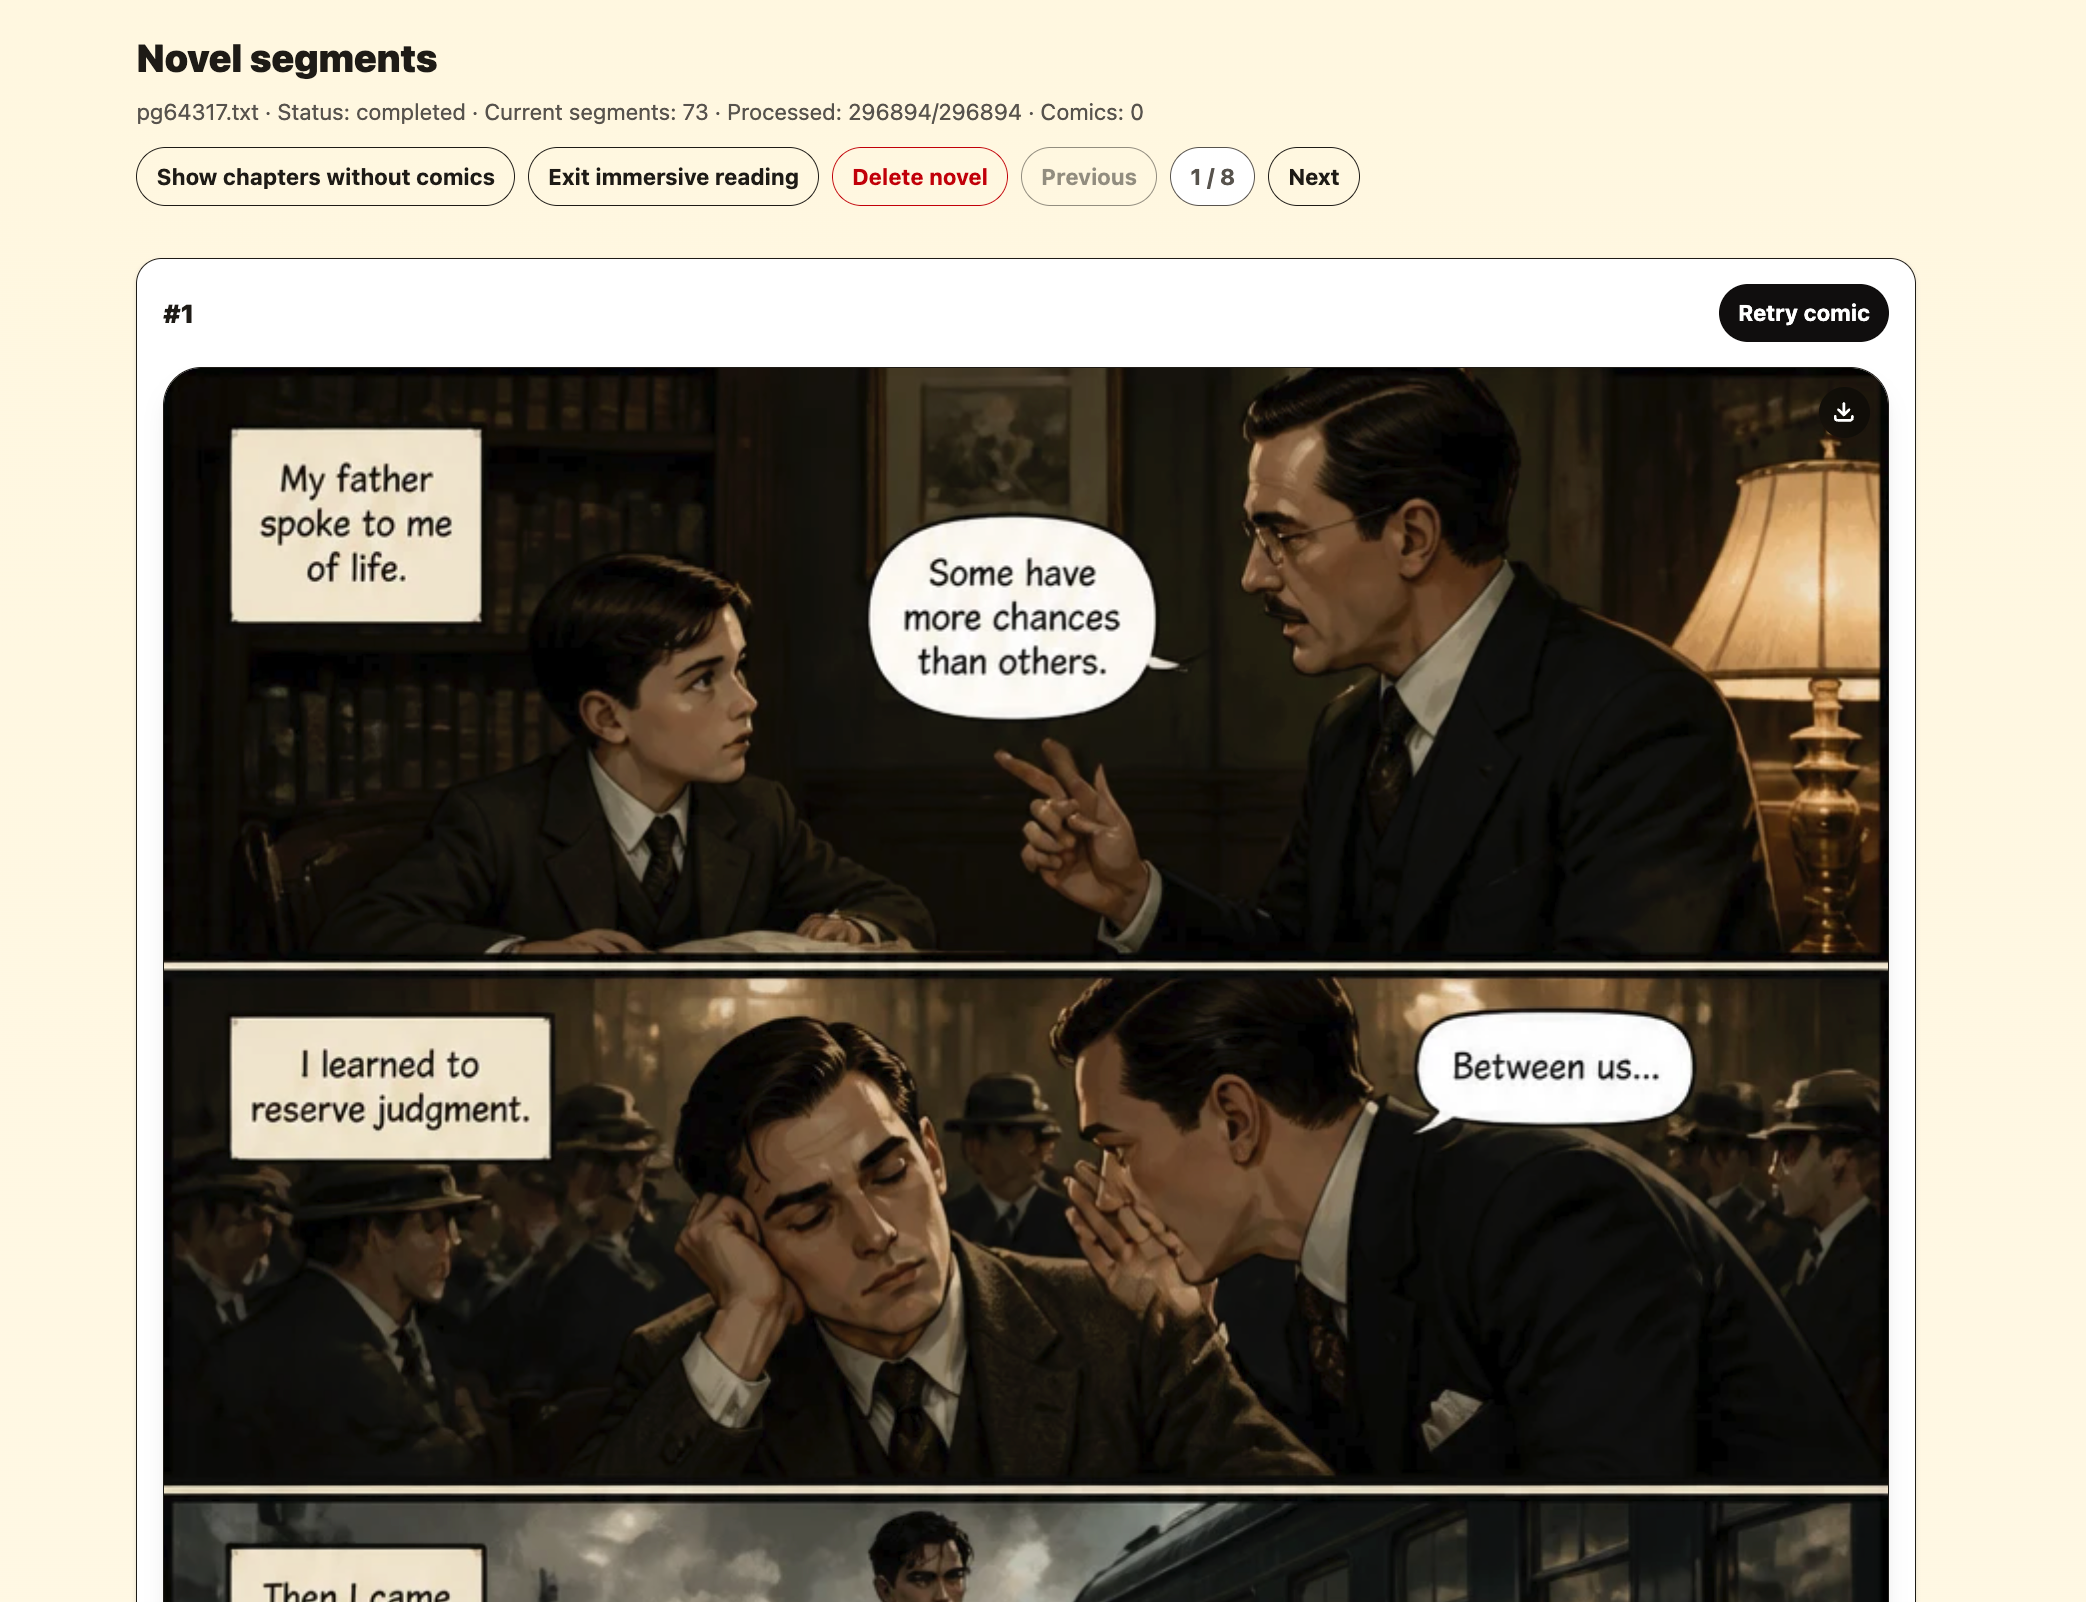
4. Treat segments as comic pages
After the story is added, it is divided into segments. Think of each segment as the source for one comic page. This is why pacing matters. If a segment contains too many events, the page may look crowded. If it contains too little, the page may feel empty.
A strong segment usually has one main action, one setting, and one emotional point. For example: a detective finds a clue in a rainy alley, a princess refuses a marriage proposal, or a traveler sees the forbidden city for the first time.
Good segment test
If you can describe the segment as one clear moment in one sentence, it is probably a good candidate for one comic page.
5. Generate a small sample before committing
Generate the first few pages and review them as a reader. Do not judge only the artwork. Ask whether the story is understandable, whether the characters look close enough to your imagination, and whether the page shape fits your goal.
If the sample works, continue. If it does not, adjust the style, edit vague segments, or change the segment length before spending credits on many pages.
Best practice summary
- Use one project for one story so all pages share the same settings.
- Pick the art style based on the emotion and genre of the story.
- Use TXT for long manuscripts and manual mode for short or unfinished stories.
- Review a few pages before generating the whole novel.
- Keep creating in story order so the comic is easier to read and improve.